
Short answer: PPSU machining depends on the exact resin grade, stock form, wall geometry, and measurement condition. Keep the part supported, avoid rubbing and local heat buildup, and inspect after it has cooled and been released from the fixture. A nominal dimension measured while a thin wall is clamped may not represent the finished part in its assembly state.
PPSU is an amorphous thermoplastic used where a design needs a combination of heat resistance and mechanical performance. Product data is grade-specific: for example, Solvay reports a 220°C glass-transition temperature for Radel PPSU, but that value is not a machining setpoint or a universal limit for every PPSU formulation. Confirm the named grade, supplied stock, and service requirements before making a design or process decision.
Begin with the grade, blank, and final use
Before PPSU machining, verify the material callout, supplier certificate, stock dimensions, and whether the blank is sheet, rod, or another form. The part drawing should identify the surfaces that locate in the assembly, the free-state dimensions, and any areas where appearance matters. Do not infer chemical, sterilization, or regulatory suitability from the word PPSU alone.
Stock history and geometry affect how much material can be removed in one setup. A thick block with a deep pocket, a thin cover, and a narrow flange release different stresses as the tool removes material. Plan the setup around the final supports and datums rather than treating every part as a rigid metal block.
Keep the cut and the fixture from warming or bowing thin walls
Thermoplastics can soften or move when heat accumulates at a rubbing tool edge, while clamping can bend a panel before cutting begins. A sharp tool, clear chip path, steady feed, and short periods of unnecessary contact help reduce heat at the cut. The right conditions must be determined for the actual tool, machine, stock, and section; there is no universal PPSU feed or speed in this guide.
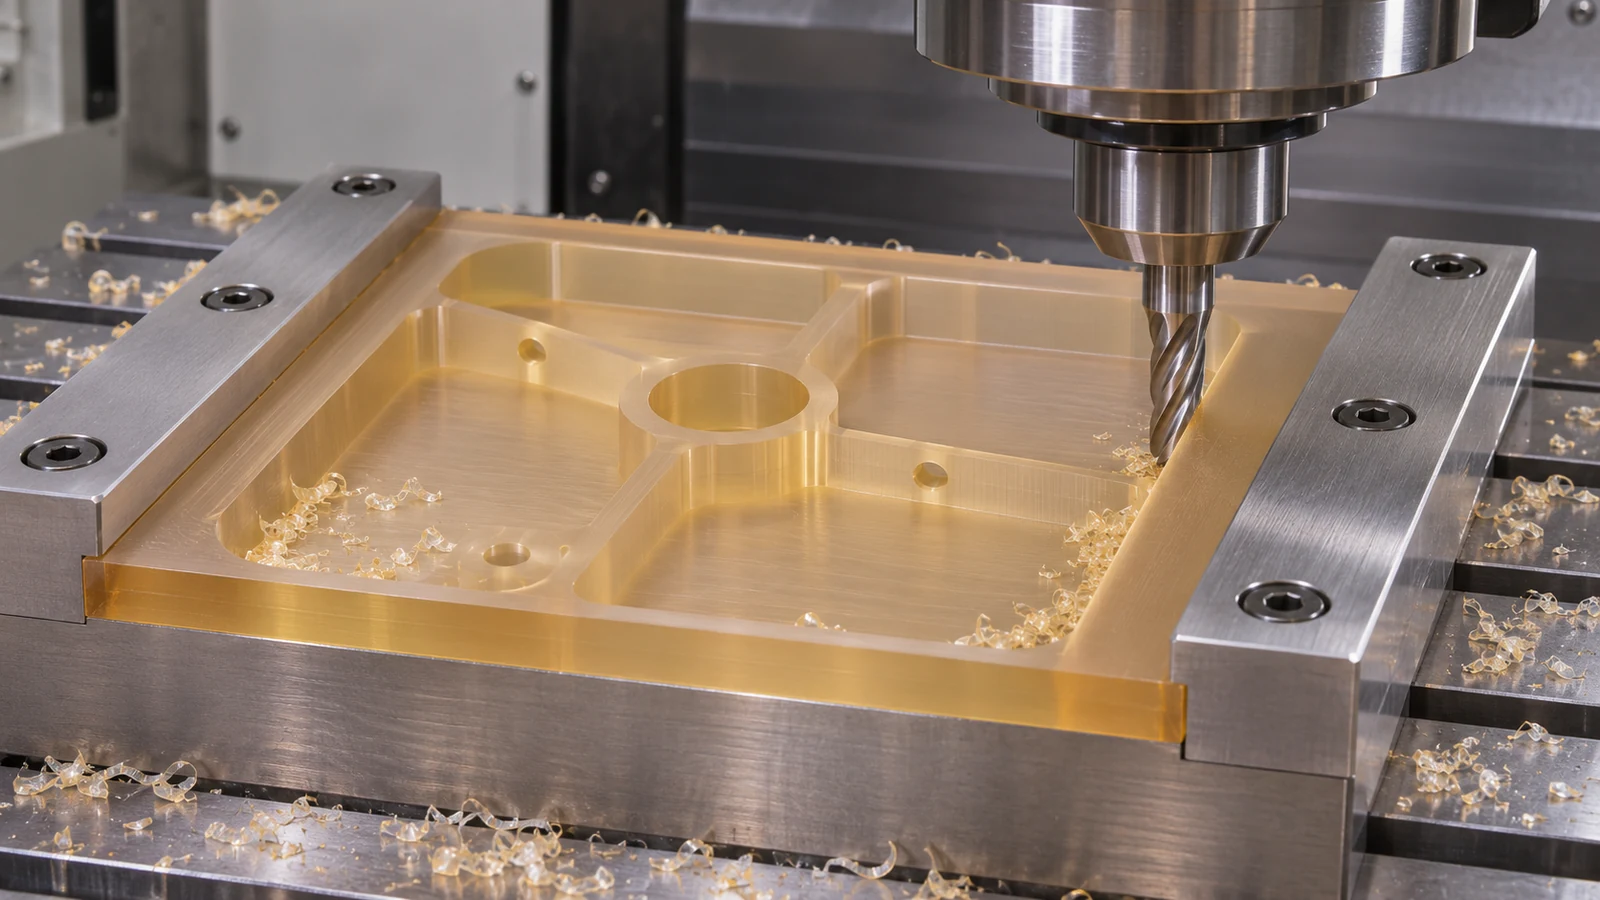 Use broad, stable support beneath thin floors and walls. Avoid excessive clamp force and finish critical surfaces after the roughing load is removed. If both faces matter, remove material in a balanced sequence where the geometry permits, then allow the part to recover before final measurement.
Design the sequence around support access
For a pocketed enclosure, machine the datum face and mounting features while the blank is still rigid, rough the cavity while enough material supports the wall, and finish the wall after the setup can hold it without distortion. This is a planning example, not a mandatory sequence. Deep corners, thin ribs, and long unsupported spans may need a design review if the tool cannot reach without deflecting the part.
At the RFQ stage, provide the CAD model and identify which faces locate, seal, or mate with other components. The verified plastic materials overview gives the broader material-family context, and CNC milling capabilities describe the relevant route for pockets, profiles, and mounting patterns.
Measure after cooling and release
Define the inspection state: free, supported, or lightly fixtured; stabilized at the agreed room condition; and measured with a method that does not push a thin feature out of shape. Check the relationship between the mounting edge, sealing face, and critical opening rather than accepting an isolated width alone.
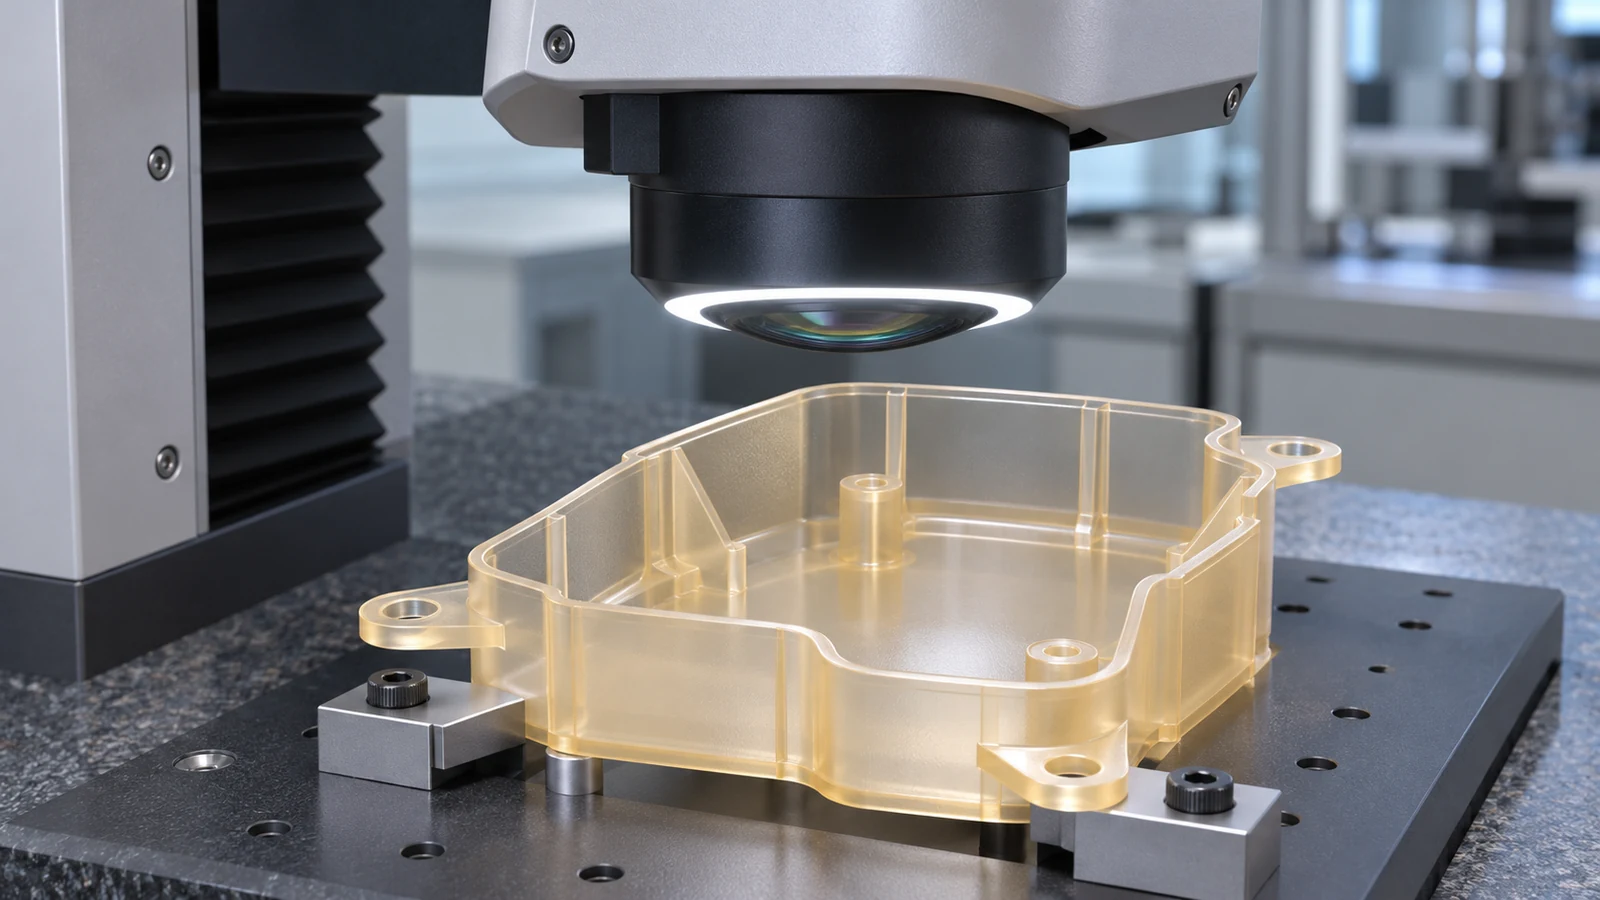 If a dimension changes after unclamping, separate thermal recovery from elastic springback and stress release. Recheck the support, roughing balance, and measurement method before changing the program size. Record the measurement stage so the buyer and supplier are comparing the same condition.
Illustrative review: a thin access panel
Imagine a hypothetical PPSU access panel with a recessed center, four mounting holes, and a narrow sealing land. The blank is first held on a broad support, the mounting face and holes are established, and the pocket is roughed while the surrounding stock still stiffens the panel. After release and stabilization, the team checks flatness and sealing-land position before deciding whether a light finish pass is needed.
If the panel bows, the team does not simply machine the opposite face thinner. It reviews support, stock condition, material-removal balance, and the drawing’s free-state requirement. This is an illustrative engineering review, not a customer case or a claim about a specific production result.
What to include in a PPSU machining request
- Exact resin grade, stock form, supplier, certificate needs, and any required traceability.
- Current drawing and CAD revision, quantity, wall thicknesses, pocket depths, and functional datums.
- Free-state or supported inspection condition and the dimensions that control fit or sealing.
- Appearance, deburring, cleanliness, and any limits on coolant or cleaning agents.
PPSU machining questions
Does a high glass-transition temperature mean heat cannot affect machining?
No. A datasheet transition value does not prevent local cutting heat, fixture distortion, or dimensional recovery. Manage the actual process and inspect in the specified condition.
Should PPSU parts be measured while clamped?
Only if the drawing defines a supported or fixture-based condition. Otherwise, release and stabilize the part before checking free-state dimensions.
Can one PPSU cutting recipe be used for every thickness?
No. Grade, stock, tool geometry, wall thickness, support, and machine conditions all matter. Qualify the route on the actual part family.
What information helps prevent a dimensional dispute?
Specify the datum scheme, measurement state, stabilization method, critical dimensions, and the stage at which acceptance occurs.