
Centerless grinding can produce a consistent cylindrical surface, yet a change in diameter, roundness, or finish may come from several different parts of the setup. Replacing a wheel or changing feed immediately is a poor first move when the symptom has not been defined. Start by separating the observed defect—taper, lobing, chatter, size drift, or local damage—from the possible causes, then check the workpiece path, wheel condition, regulating-wheel behavior, blade support, alignment, and coolant delivery in a controlled order. This troubleshooting guide provides a symptom-to-check sequence for engineers and buyers reviewing a process issue, without prescribing machine settings that depend on the specific grinder, wheel, material, and procedure.
Map the defect before changing the setup
Record what changed and where it appears. A diameter trend along the part, a repeated pattern around its circumference, a periodic surface mark, and a sudden size shift are different observations. Note whether the issue is present on the first piece, develops during the run, or appears only after a setup or dressing change. If the parts are shafts, measure at consistent axial positions and orientations so a process trend is not confused with a measurement-location change.
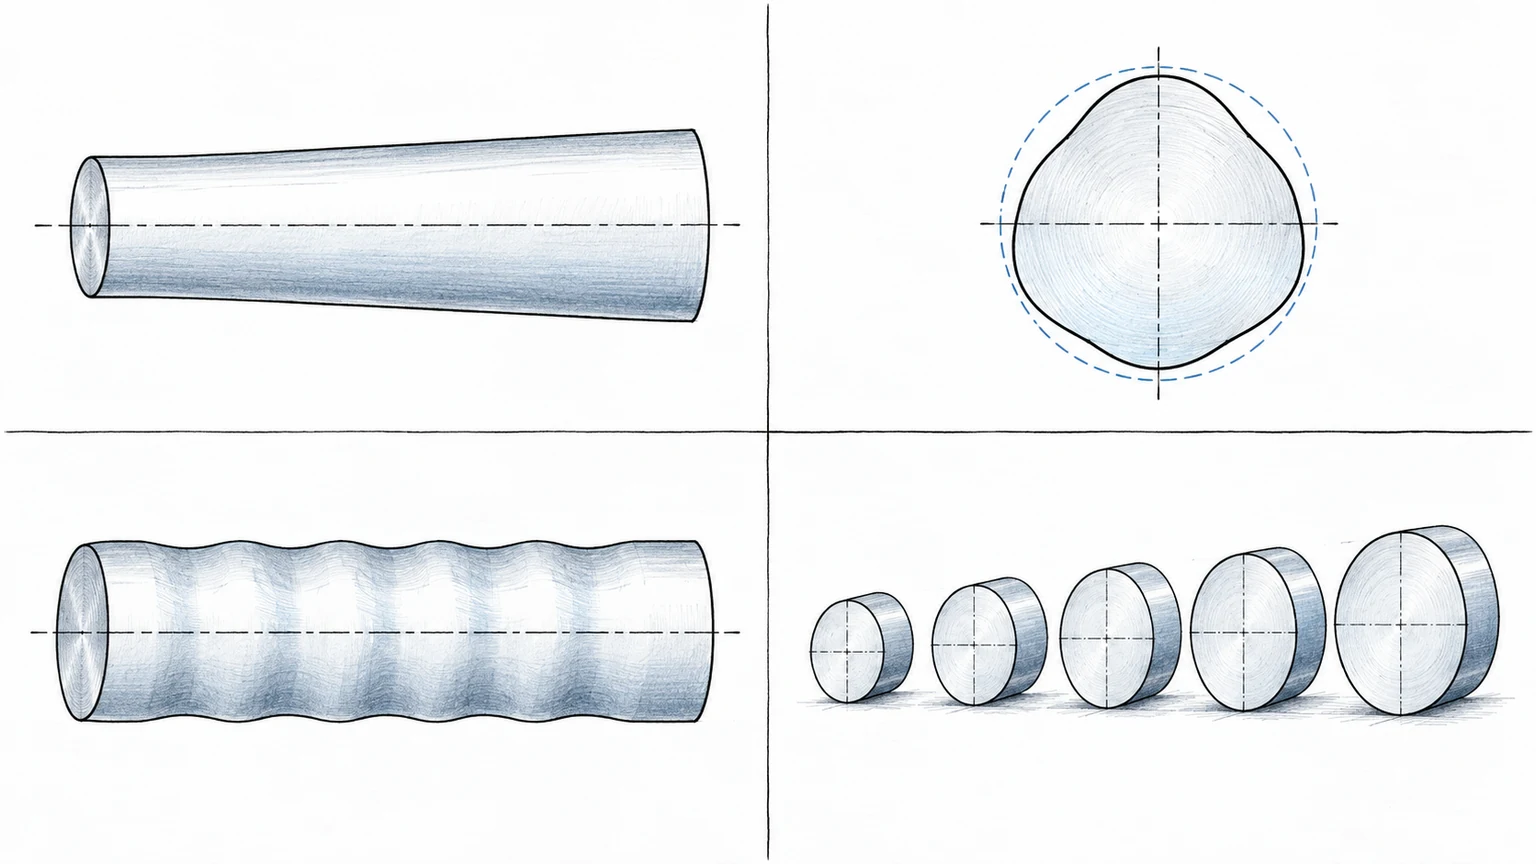
Also preserve the conditions around the symptom: workpiece material and stock condition, lot, wheel identification and recent dressing history, regulating wheel state, rest-blade condition, coolant delivery, and the measurement method. This is not a demand to record every machine parameter. It is a way to avoid changing several variables before the cause is understood. The precision grinding process guide provides broader process context; the centerless grinding overview explains the operation and common application boundaries.
Before troubleshooting, confirm that the measurement itself is repeatable. Check instrument suitability, part cleanliness, temperature stabilization where relevant, contact force, and the datum or support used. If a second operator or an independent method gets a materially different result, resolve the measurement system first rather than adjusting the grinder to chase uncertain data.
Use a symptom-to-check matrix
The matrix prioritizes checks that help narrow the problem. It is deliberately not a parameter recipe: machine design, wheel specification, material, and workpiece geometry affect the correct adjustment. Change one controlled factor at a time and document the result.
| Observed symptom | First checks | Follow-up questions | Do not assume |
|---|---|---|---|
| Taper or end-to-end size difference | Verify measurement locations; review workpiece support, alignment, and contact conditions | Does the trend repeat across parts and after a verified setup check? | That a single wheel adjustment is always the cause or remedy |
| Lobing or out-of-round form | Check support stability, workpiece rotation behavior, wheel condition, and measurement method | Is the pattern repeatable by angular position and consistent with the instrument setup? | That diameter measurements alone describe roundness |
| Chatter, spiral, or periodic finish marks | Inspect wheel and regulating-wheel condition, dressing history, support, and machine vibration | Does mark spacing relate to workpiece travel or rotation, and did it start after a setup change? | That polishing or slower feed will remove the underlying cause |
| Size drifts during a run | Confirm measurement repeatability; review dressing, wheel wear, thermal state, and stock variation | Is drift gradual, step-like, or correlated with a specific event? | That the nominal target alone identifies the correction |
| Burn, loading, or localized surface damage | Contain suspect parts; review coolant delivery, wheel condition, contact, and material variation | What defined inspection method will establish disposition? | That a clean-looking surface proves no thermal effect |
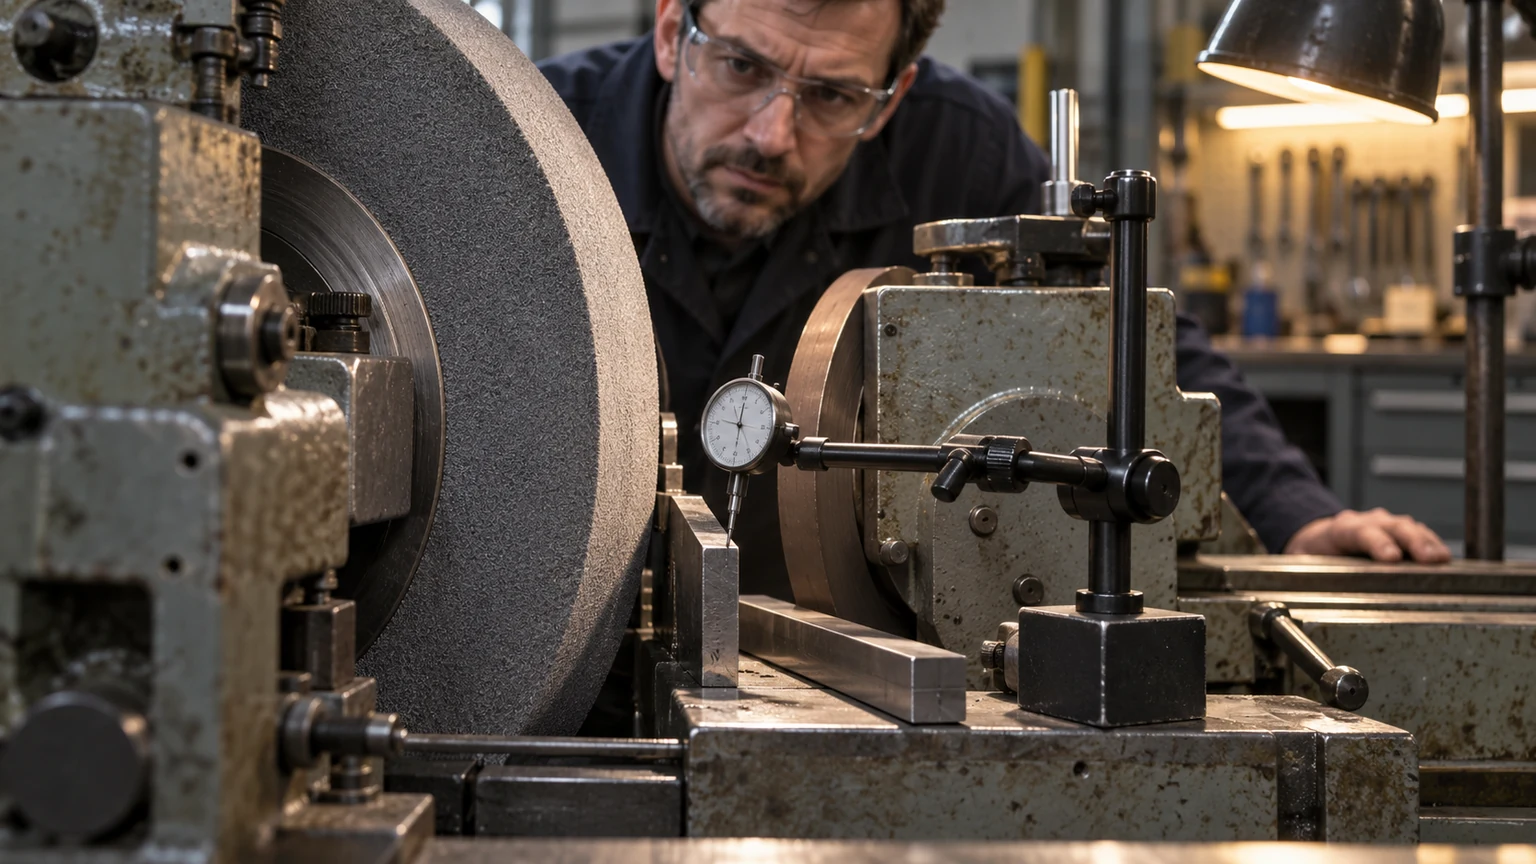
Use the table to choose the next observation, not to authorize an unverified adjustment. If more than one symptom appears together, log each separately; for example, a taper plus a spiral mark may indicate that more than one mechanism is active. When the issue affects fit, fatigue-sensitive surfaces, or a customer-controlled characteristic, stop release of the suspect quantity until the acceptance decision is agreed.
Correct contact geometry and the process sequence
Centerless grinding depends on the workpiece being supported and guided between the grinding and regulating wheels. The rest blade, wheel conditions, workpiece geometry, and setup alignment all contribute to how the part rotates and travels. A small setup difference can therefore present as a shape or finish issue, but the right correction depends on the actual symptom and machine configuration.
Review the workpiece path from entry through exit: is the part supported consistently, is the contact condition stable, and is the feature presented as intended? Check the wheel face and dressing condition, the regulating surface, and the blade for wear, damage, contamination, or an unsuitable contact point. Confirm coolant reaches the working zone and that chips or debris are not interfering. These checks establish evidence before anyone changes operating values.
Then isolate the likely factor. If a dressing event preceded the defect, compare a controlled part before and after a verified dressing condition. If the symptom varies with workpiece stock, inspect incoming size and material consistency. If the symptom is periodic, compare the pattern with the workpiece rotation and feed behavior. The objective is to test a cause-and-effect hypothesis with a limited change, not to stack adjustments until the part happens to pass.
Define a restart check for the affected lot
Once a correction is selected, define what proves the process is back in control. Identify a representative first-off part, the dimensions or form characteristics to inspect, the measurement locations, and the quantity required before production resumes. For surface concerns, specify the inspection method and disposition rule rather than relying on an informal visual check.
Keep the suspect parts traceable to the time window and setup state. Document the observed symptom, checks performed, adjustment or maintenance action, verification results, and release decision. If the same failure returns, the record helps distinguish an ineffective correction from a new cause such as wheel loading, material variation, or measurement drift.
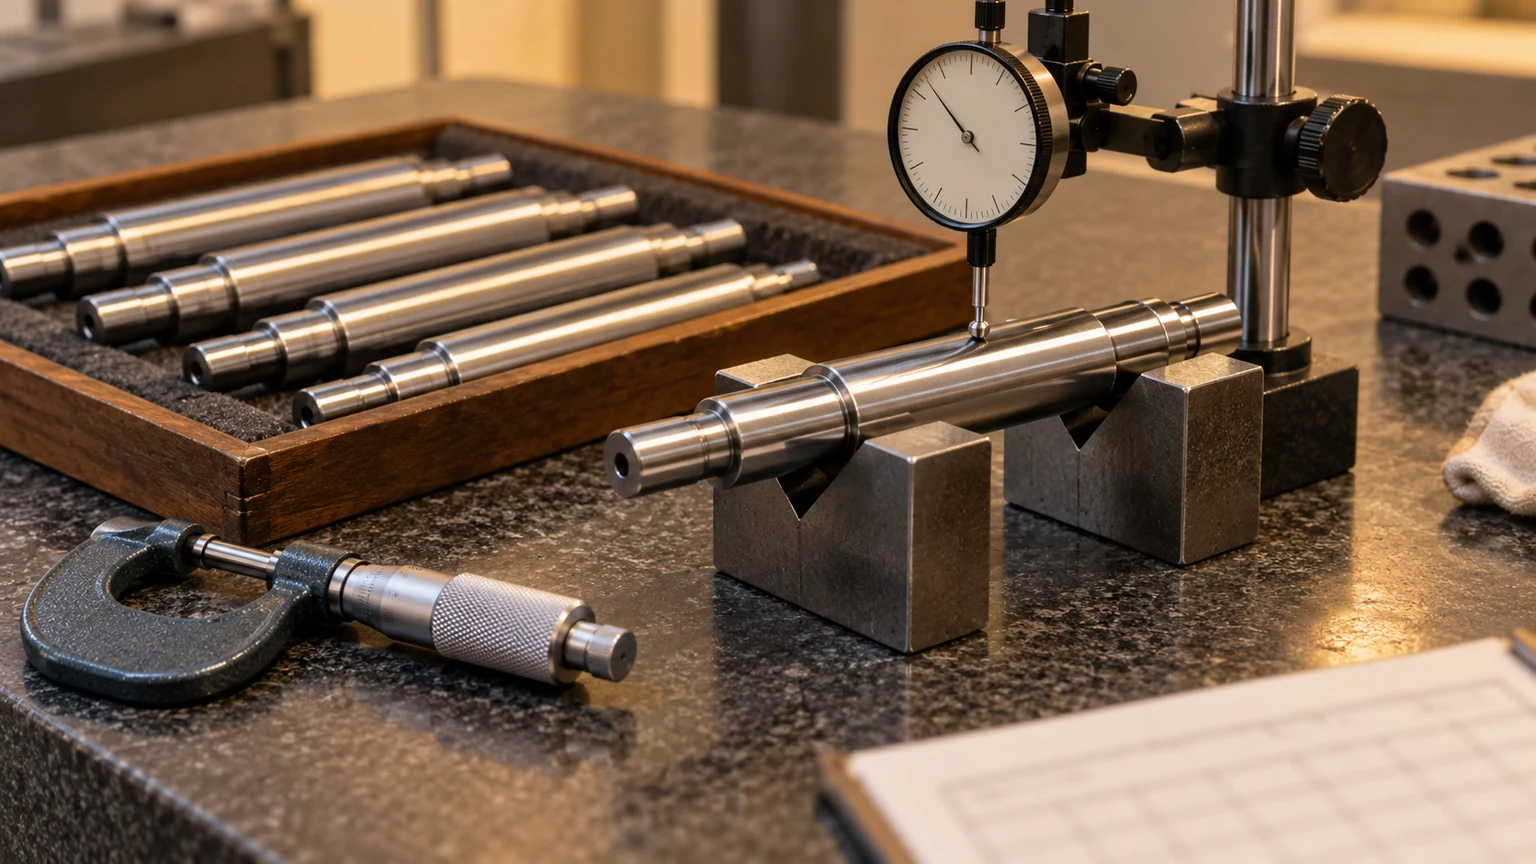
When requesting outside grinding support, include the part drawing, material and condition, stock allowance, critical size/form/finish requirements, quantity, and any special inspection criteria. Ask the supplier to identify assumptions and confirm which verification records are included. A clear RFQ reduces ambiguity without pretending that a generic troubleshooting chart can replace process qualification.
Centerless grinding troubleshooting FAQs
What should be checked first when centerless-ground parts go out of size?
First verify the measurement method and locations, then establish whether the change is gradual, sudden, or linked to a known setup event. Review wheel condition, dressing history, workpiece support, and material variation before changing a parameter.
Can one adjustment correct taper, lobing, and chatter together?
Not reliably. These symptoms can have different causes. Record and investigate each observable defect, then change one controlled factor at a time so the effect can be evaluated.
Should suspect parts be polished and remeasured?
Only if the engineering disposition allows material removal and the acceptance plan defines the rework. Polishing may change dimensions or hide evidence without correcting the process cause.
When should production stop?
Contain the affected quantity when a critical dimension, form, surface integrity, or customer requirement may be out of control. Resume only after a defined verification check and an authorized disposition.