What is a Brushed Metal Finish?
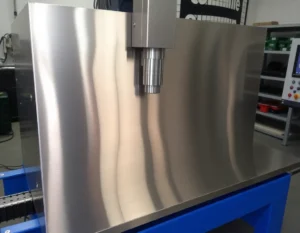
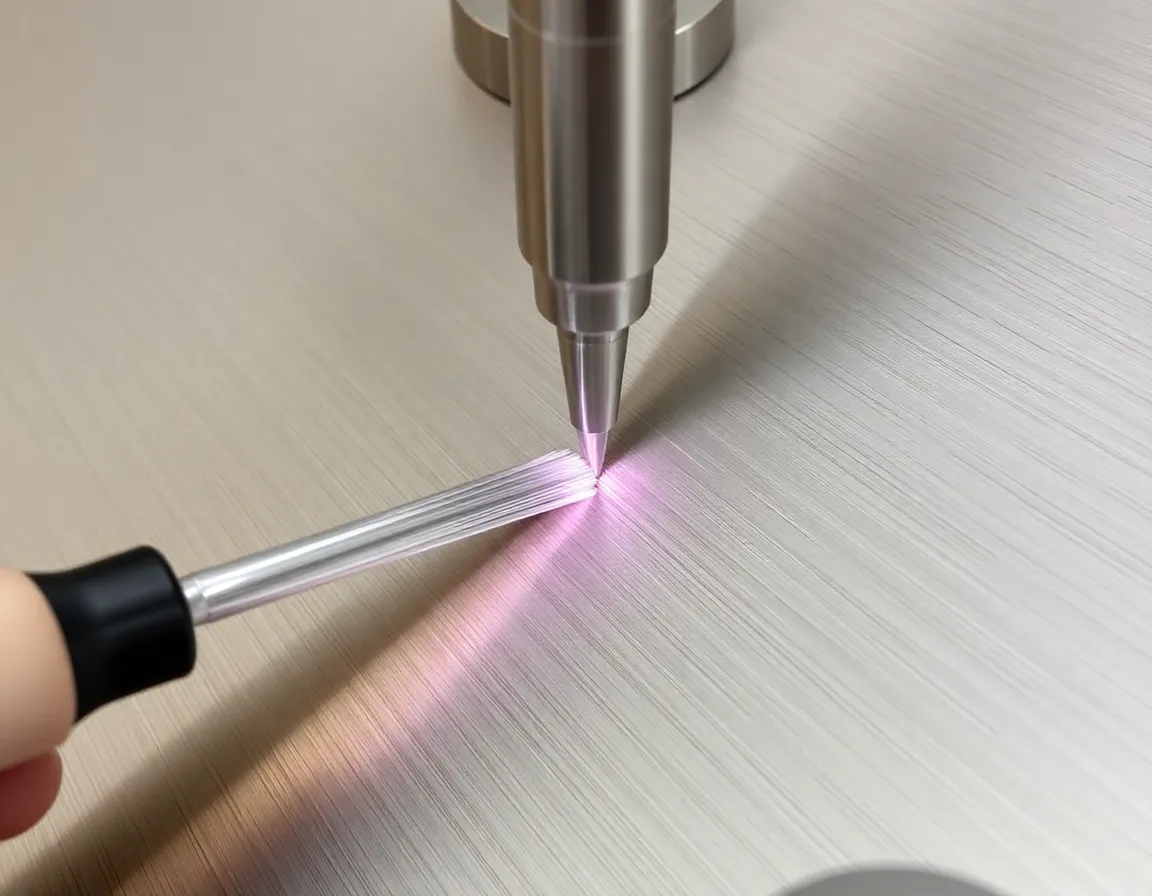
In the world of design and fabrication, few finishes offer the perfect blend of industrial chic, tactile appeal, and understated elegance quite like the brushed metal finish. Also known as a satin finish, this surface treatment involves creating a consistent pattern of fine, parallel lines on the metal, giving it a distinctive texture that diffuses light and hides fingerprints and minor imperfections. Unlike a mirror-polished surface, which is highly reflective and showy, a brushed finish provides a soft, matte luster that speaks of quality, durability, and sophistication.
The beauty of this technique lies in its accessibility. While it is a staple in professional manufacturing for items ranging from high-end appliances to architectural cladding, achieving a professional-looking brushed finish is entirely within reach for the dedicated DIY enthusiast. This guide will equip you with the knowledge, techniques, and best practices to master this transformative process on various metals, including aluminum, stainless steel, brass, and even some softer metals.
The Tools and Materials You'll Need
Success in DIY metal brushing hinges on having the right tools for the job and the material you're working with. Your toolkit can range from simple hand tools to power equipment, depending on the scale and desired precision.
Essential Tools for Every Workshop
For Hand Brushing (Ideal for smaller projects, curves, and detailed work):
- Abrasive Pads (Scotch-Brite): The go-to for many. Available in various grits (from coarse to very fine), these synthetic pads are flexible and perfect for contours.
- Sandpaper: Wet/dry sandpaper in a progression of grits (starting from 120 to 400+). Used with a sanding block, it creates a more uniform scratch pattern.
- Steel Wool: Grades from 0 (coarse) to 0000 (super fine). Useful for final blending and achieving a very soft satin sheen.
- Hand-Scraping Tools: For a truly authentic, deep linear grain, a dedicated hand-scraper or even a hardened steel card (like a deburring card) can be used with consistent, straight strokes.
Power Tools for Efficiency and Scale
For larger, flat surfaces or production work, power tools save immense time and effort:
- Angle Grinder or Drill with Flap Discs/ Brushing Wheels: A flap disc with a non-woven abrasive (like a Scotch-Brite type) is excellent for fast, uniform brushing. Dedicated radial bristle discs are also available.
- Random Orbital Sander or Belt Sander: With the appropriate abrasive belt or pad, these can establish the initial grain direction. A belt sander is particularly effective for long, straight lines on flat stock.
- Bench Grinder with a Brushing Wheel: A setup ideal for small parts and edges. Use a sisal or synthetic brushing wheel with a compatible abrasive compound.
Essential Safety and Prep Materials
- Safety Gear: Safety glasses, a respirator (for metal dust), and heavy-duty gloves are non-negotiable.
- Cleaning Supplies: Degreaser (like acetone or isopropyl alcohol), clean rags, and dish soap.
- Masking Tape: To protect areas you don't want to brush.
- Clear Coat (Optional but Recommended): A clear lacquer or enamel designed for metal to protect the fresh finish from oxidation and wear.
A Step-by-Step Guide to the Brushing Process
Follow this systematic approach to transform a raw or worn metal piece into a piece with a stunning, professional brushed finish.
Step 1: Preparation is Paramount
Thorough preparation is 80% of a successful finish. Begin by cleaning the metal meticulously with a degreaser to remove all oils, adhesives, and contaminants. For existing finishes or severe corrosion, you may need to strip paint or use a coarser grit to level the surface. Always sand out deep scratches or dents at this stage; the brushing process will not hide them. Once clean and dry, use masking tape to protect any adjacent surfaces or specific areas of the metal you wish to leave untouched.
Step 2: Establishing the Grain Direction
This is the most critical decision point. The direction of the brush marks defines the final aesthetic. Always brush in one direction only—the long direction of the piece is typically most pleasing. For a hand finish, use a sanding block with medium-grit sandpaper (e.g., 180-220) and make long, continuous, overlapping strokes from one end to the other. Apply consistent, moderate pressure. For power tools, secure the workpiece and move the tool steadily along the chosen grain line. This initial sanding creates the uniform scratch pattern that is the foundation of the finish.
Step 3: The Brushing Pass
Now, move to your chosen brushing tool. If using an abrasive pad, attach it to a sanding block for flat surfaces or use it freely for curves. Follow the exact grain direction you established in Step 2. The goal is to overlay the initial scratches with finer, more consistent lines. For a finer satin finish, progress to a finer-grit pad or sandpaper (e.g., 320-400 grit). The key is patience and consistency; rushing or changing direction will create a cross-hatched "swirl" pattern, which is a different (though sometimes desirable) effect.
Step 4: Final Blending and Cleaning
Once you are satisfied with the uniformity of the brush pattern, do a final pass with a very fine abrasive pad (like a maroon or gray Scotch-Brite) or 0000 steel wool. This step blends any minor inconsistencies and elevates the finish to a smooth, uniform satin. Clean the piece thoroughly with soapy water and a soft cloth to remove all abrasive dust. Dry immediately and wipe down once more with a clean rag and a touch of alcohol to ensure no residue remains.
Step 5: Sealing the Finish (Highly Recommended)
A freshly brushed metal surface, especially on metals like brass, carbon steel, or raw aluminum, is susceptible to tarnishing and fingerprints. Applying a clear protective coat will preserve your hard work. Use a spray lacquer or enamel in a well-ventilated area, applying multiple light, even coats as per the product instructions. For items that will see heavy handling or heat (like tool handles), consider a more durable clear epoxy or a paste wax for a natural feel.
Applications and Benefits of a Brushed Finish
The brushed metal finish is not just aesthetically versatile; it offers tangible practical benefits that explain its widespread use.
Where You'll Find It
- Home Appliances & Hardware: Oven fronts, refrigerator panels, sink faucets, and cabinet pulls.
- Eletrônicos de Consumo: Laptop casings, smartphones, speakers, and watch cases.
- Automotive & Marine: Interior trim, dashboard elements, and marine fixtures.
- Architectural Elements: Elevator doors, wall cladding, handrails, and signage.
- DIY & Custom Projects: Furniture frames, custom knife handles, lamp bases, computer mods, and restored vintage items.
Why Choose a Brushed Finish?
Scratch and Fingerprint Camouflage: The linear texture is exceptionally effective at hiding everyday wear, smudges, and fine scratches, making it a low-maintenance choice for high-touch areas.
Non-Glare, Sophisticated Appearance: It provides visual interest and a premium feel without the stark reflectivity of a polished surface, allowing other design elements to shine.
Enhanced Grip and Tactility: The subtle texture can improve grip on tools, handles, and electronic devices.
Durability: When properly sealed, the finish is robust and long-lasting, resisting corrosion and environmental factors.
Pro Tips and Best Practices
- Practice First: Always test your technique on a scrap piece of the same metal to dial in your pressure, speed, and tool choice.
- Consistency is King: Use jigs or guides for power tools on flat surfaces. For hand work, mark your grain direction with a marker that will be removed during sanding.
- Mind the Edges: Be careful not to over-brush edges and corners, as you can easily round them over and change the piece's profile.
- Work in Good Light: Angle your work light to catch the grain. This will reveal inconsistencies and help you maintain a uniform pattern.
- Embrace the "Live Finish": On items like knives or tools, some prefer to leave the metal uncoated, allowing it to develop a natural patina with use—this is known as a "live" or "working" finish.
Mastering the brushed metal finish unlocks a world of creative potential for the DIYer. It transforms the ordinary into the exceptional, adding value, character, and a professional touch to any project. By understanding the principles, gathering the right tools, and practicing the technique with patience, you can consistently achieve stunning results that rival factory finishes. So, select a project, prepare your workspace, and start brushing—your path to creating beautiful, textured metal masterpieces begins now.