
Bead blasting creates a diffuse matte texture, brushing creates a directional grain, and polishing reduces visible texture toward a bright or mirror-like surface. The visual difference is obvious; the engineering difference is easy to miss. Each process changes edges, tool marks, roughness, handling sensitivity, coating preparation, inspection, labor, and lot consistency in a different way. The finish should be selected from how the customer will see, touch, assemble, and clean the part.
Three Finishes on the Same Machined Panel
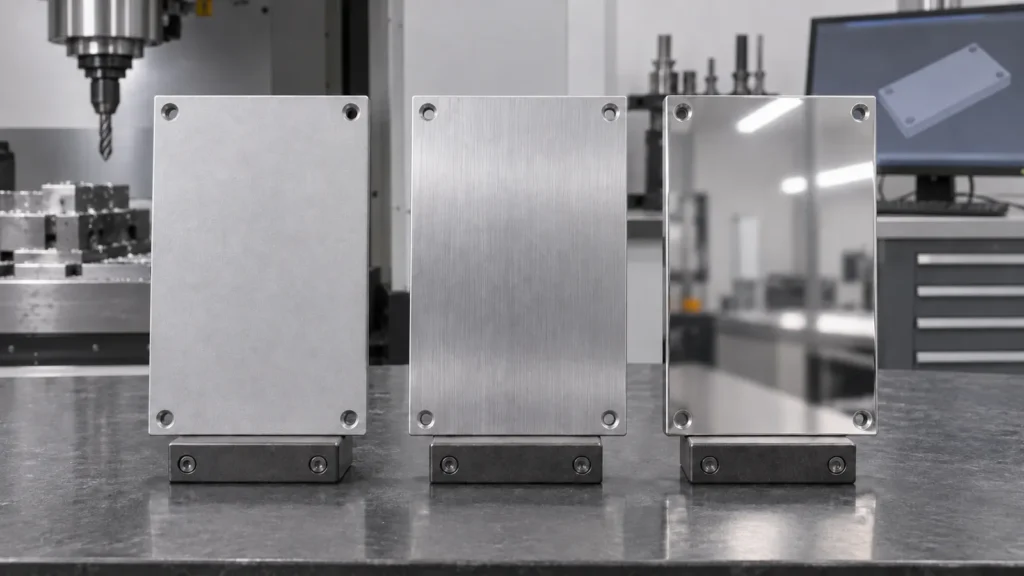
None is automatically “higher quality.” A matte instrument housing, brushed appliance trim, and polished display component communicate different design intent. Quality means the selected texture is repeatable, compatible with the material, and accepted by a clear visual standard.
For treatments beyond these three mechanical routes, use the CNC machining surface finishes guide to compare coatings, conversion finishes, plating, and as-machined surfaces.
Match the Finish to the Product’s Visual Language

Each Process Leaves a Different Signature
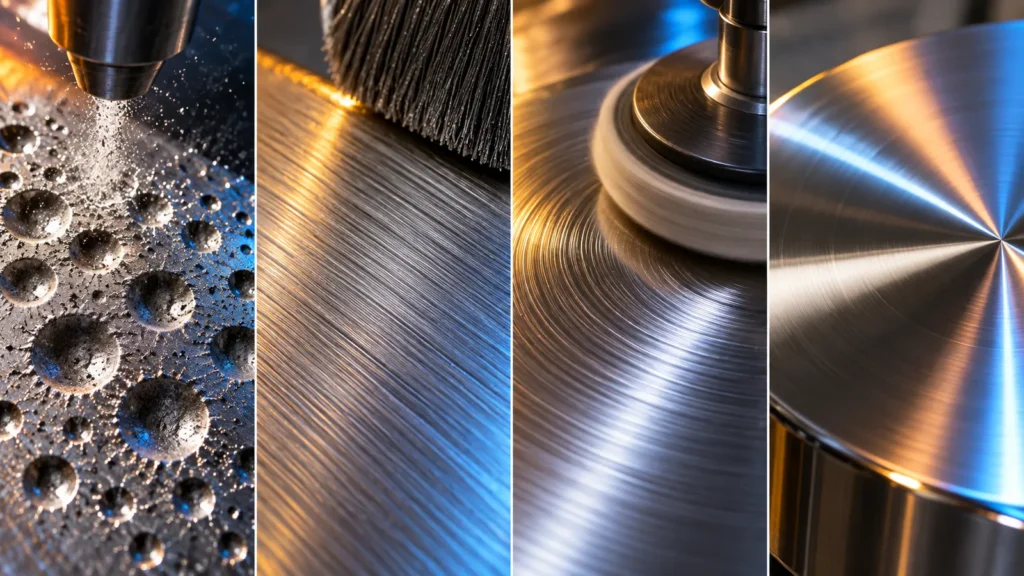
Media strikes the surface to create a field of small impacts. Media type, size, pressure, angle, distance, dwell, material hardness, and operator path affect the result. Blasting can unify appearance but may soften sharp edges, alter roughness, embed contamination, or affect small holes and threads. Masking is a functional control, not merely a cosmetic preference.
Brushing: texture with a direction
An abrasive belt, wheel, pad, or other controlled contact produces a linear grain. The grain becomes part of the product geometry: neighboring panels must run in the same direction, corners need transition rules, and rework can produce local patches that reflect light differently.
Polishing: subtraction toward reflection
Progressively finer abrasion and buffing can reduce scratches and produce a bright surface. Polishing removes material and can round edges, open low spots, smear soft metals, or change flatness. A mirror-like appearance is especially sensitive to pre-existing waviness and handling.
These signatures also influence touch. A blasted surface may feel dry and diffuse, a brushed surface communicates direction under the fingertip, and a polished face feels smooth but readily shows skin oils. If the customer repeatedly handles the part, test cleanability and fingerprint visibility on the intended finish rather than judging a display-only sample.
Mixed finishes on one component require transition control. A crisp boundary between brushed and polished zones may need masking or a machined break line. Without a deliberate boundary, overshoot and blending can make the part look reworked even when each local texture is acceptable.
Run a Geometry Audit Before the Cosmetic Sample
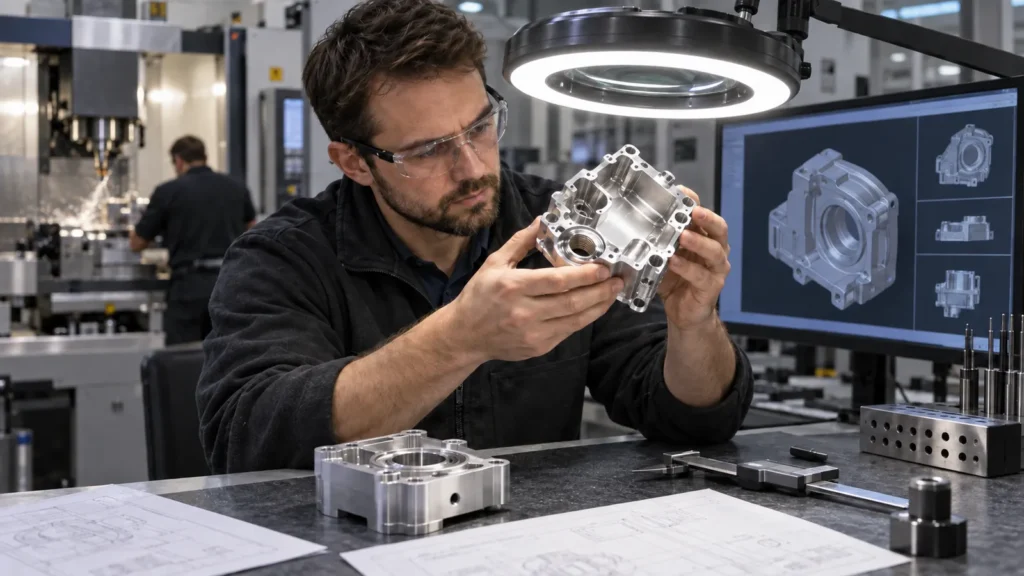
- Sharp edges: blasting and polishing can change edge character; brushing may break the grain at transitions.
- Deep pockets: media and tools may not reach them uniformly, and residues can be harder to remove.
- Threads and bores: protect fit, cleanliness, and gauge acceptance.
- Thin walls: polishing pressure and heat can distort flexible sections.
- Raised text and engraving: finishing can soften detail or create shadows around features.
- Large reflective panels: even minor waviness becomes visually amplified.
- Joined assemblies: parts finished separately may not align in grain, gloss, or reflection.
The dedicated pages for bead blasting services, brushed metal finishes, and mirror polishing can help identify process-specific questions for this audit.
The Next Process May Choose the Finish for You
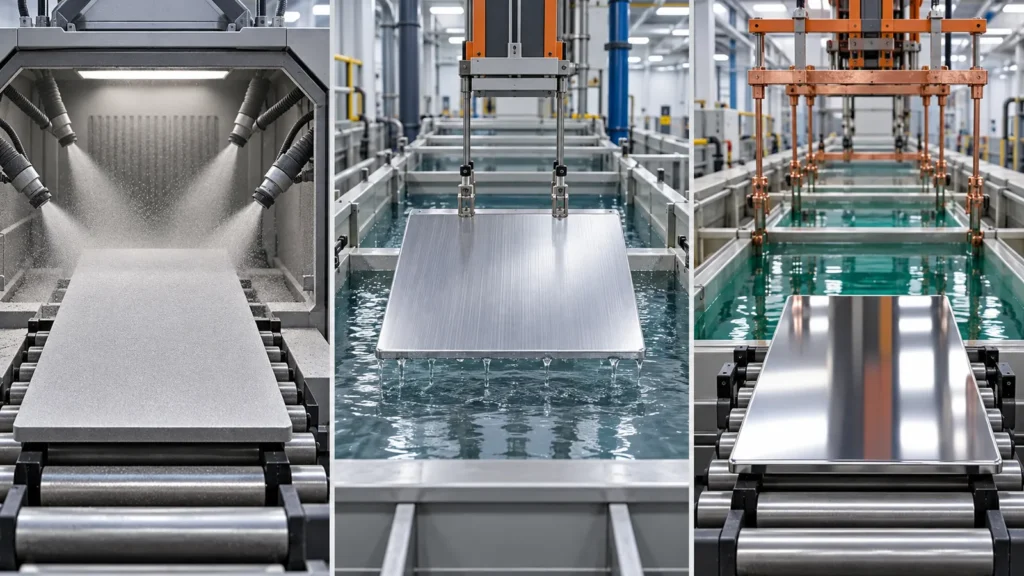
| Downstream need | Question for the mechanical finish |
|---|---|
| Anodizing | Will the preparation produce uniform texture across alloy lots and machined zones? |
| Powder or paint | Is the surface clean and appropriate for adhesion without damaging interfaces? |
| Plating | Will substrate scratches, pits, or waviness remain visible through the deposit? |
| Laser marking or printing | Does texture support contrast, focus, adhesion, and readability? |
| Adhesive bonding | Should the bond zone be prepared separately and protected from polish compounds? |
Sequence is critical. If blasting follows a fine engraving operation, the mark may lose contrast; if brushing follows machining, the grain may cross a datum edge or change the apparent straightness of a panel. Put the complete process order on the manufacturing plan and approve samples made in that order.
Cleaning between steps must also be compatible with the next process. Embedded media, abrasive residue, buffing compound, and fingerprints can create adhesion, staining, or color problems later. A cosmetic finish is therefore also a cleanliness-control operation.
Build an Acceptance Board, Not a String of Adjectives
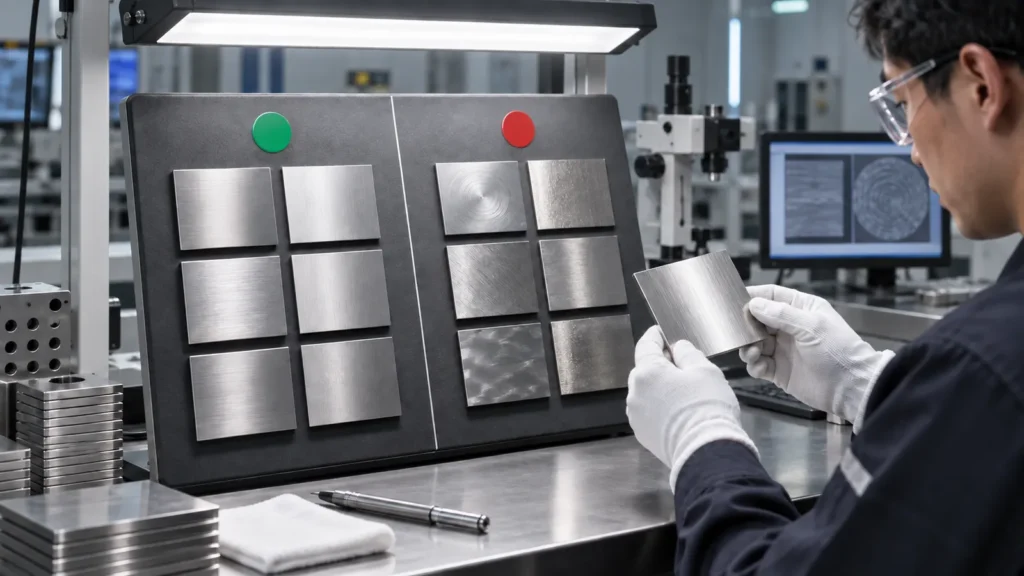
Record these visual controls
- Texture direction and orientation relative to the part
- Gloss, reflectivity, or matte target by approved sample
- Allowable scratches, dents, stains, rack marks, and edge variation
- Primary, secondary, and hidden cosmetic zones
- Part-to-part and lot-to-lot matching expectations
- Handling gloves, separators, film, and final packaging
A roughness value can supplement this standard when function requires it, but it cannot replace visual reference samples for directional grain or mirror quality.
Where the Cost Really Comes From
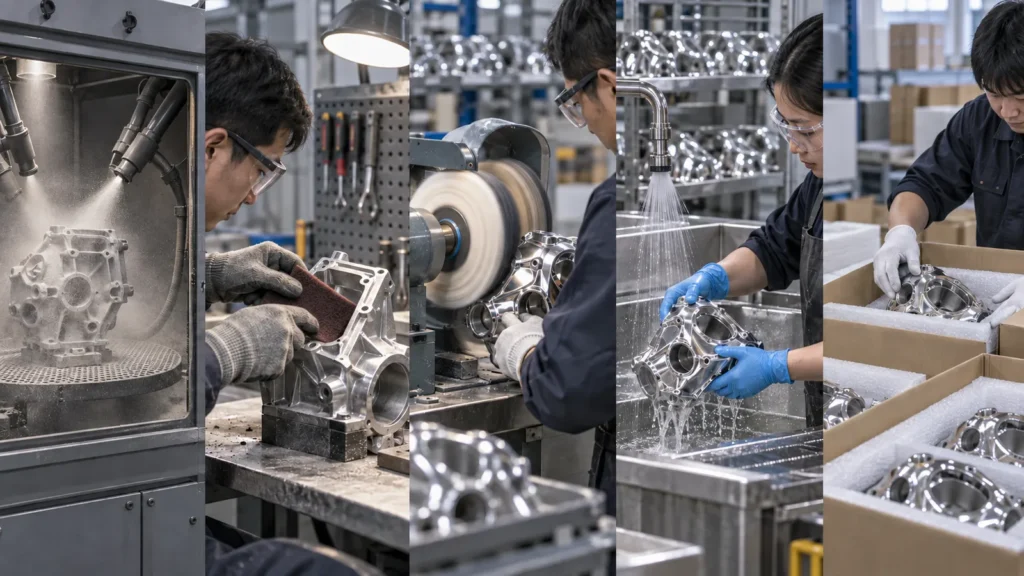
Cost can often be reduced by narrowing the cosmetic zone, choosing a texture that tolerates the real environment, avoiding finish on hidden faces, designing tool access, and approving a realistic sample early. The cheapest process is the one that meets the product’s visual language without creating recurring rework.
Automation changes the cost structure but does not remove the need for a standard. Robotic brushing or polishing can improve repeatability on accessible paths, while complex recesses and transitions may remain manual. Quote reviews should identify which surfaces are automated, manually blended, or excluded so scale-up does not silently change appearance.
Yield is another hidden driver. A demanding mirror zone can be rejected for a defect that would be invisible on matte texture. Include expected cosmetic yield and rework limits when comparing finishes for high-volume production.
A Designer’s Selection Sequence
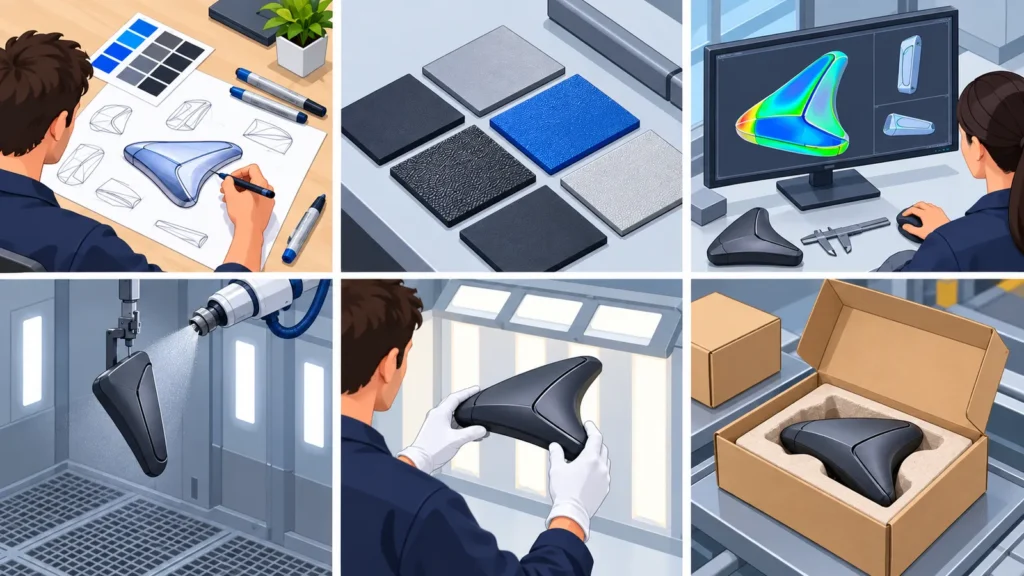
This sequence turns an aesthetic preference into an auditable manufacturing specification. It also gives the supplier room to recommend a process that reaches the intended look on the actual geometry.
Short Answers to Common Finish Questions
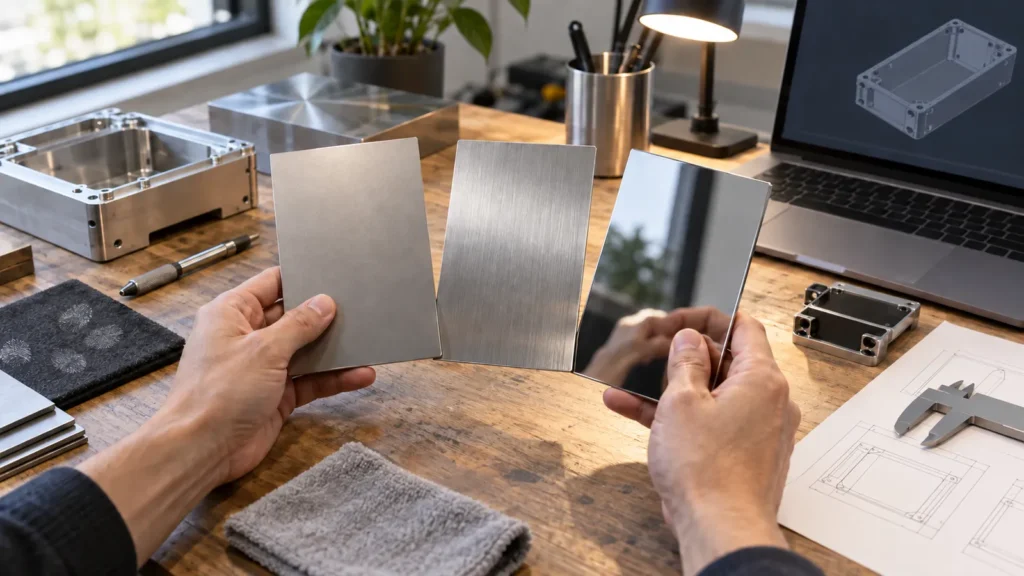
Bead blasting can reduce the visual dominance of consistent light tool marks, but it does not erase deep grooves, chatter, dents, or waviness. Brushing may incorporate marks into a directional texture. Polishing can remove marks but may reveal low spots and geometry variation.
Is a mirror finish the smoothest finish?
A mirror-like appearance suggests low visible texture, but visual reflectivity and measured functional roughness are not identical. Specify roughness separately when sealing, friction, flow, or cleanability is critical.
Can blasted and brushed parts match across production lots?
They can be controlled, but repeatability depends on material lot, starting surface, media or abrasive condition, machine settings, operator path, part orientation, downstream treatment, and inspection. Approved samples and recorded process conditions reduce ambiguity.
Should cosmetic finishes cover threads and sealing faces?
Usually they require separate review. Protect or specially control any surface whose fit, sealing, grounding, bonding, or cleanliness could be harmed by the cosmetic process.