Passivation and electropolishing are not two grades of the same stainless-steel finish. Passivation is primarily a chemical cleaning and conditioning step intended to remove free iron contamination and support the alloy’s passive behavior. Electropolishing removes a controlled microscopic layer from the surface, smoothing peaks and changing topography as well as cleanliness. Choosing correctly starts by separating a contamination problem from a roughness, cleanability, or appearance problem.
First Diagnose the Stainless Surface
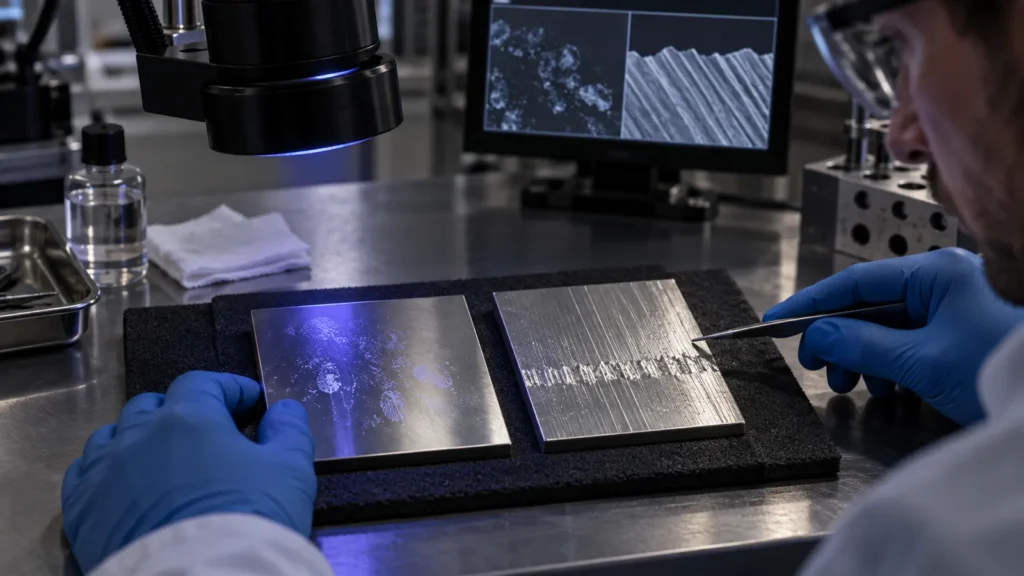
Contamination problem
Machining, handling, or tooling may leave free iron or residues. The surface geometry is already acceptable. Start by reviewing cleaning and passivation.
Topography problem
Microscopic peaks, burr remnants, directional texture, or cleanability are part of the requirement. Evaluate electropolishing and its material-removal effect.
Some parts need both outcomes, but the sequence and acceptance criteria still need to be defined. A part should not be electropolished simply because “more treatment” sounds safer, and passivation should not be expected to erase machining marks or create a bright cosmetic surface.
For the parent decision framework across coatings, mechanical finishes, and chemical treatments, use the CNC machining surface finishes guide.
Two Processes, Two Different Jobs
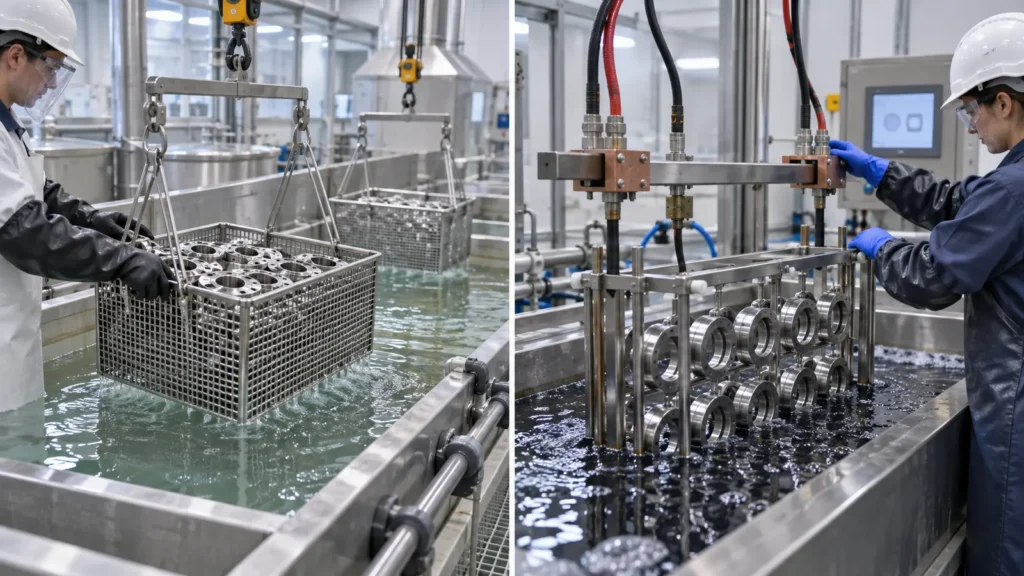
| Question |
Passivation |
Electropolishing |
| Primary action |
Cleans and chemically treats the stainless surface |
Electrochemically removes surface material |
| Topography |
Does not intentionally smooth machining texture |
Preferentially reduces microscopic high points |
| Appearance |
Usually leaves the prior finish visually dominant |
Can create a brighter, smoother-looking surface |
| Dimensional concern |
Limited compared with a removal process, but cleaning and acceptance still matter |
Material removal, edge change, small features, and current distribution require review |
| Best starting question |
Is the surface geometry acceptable but contamination control is needed? |
Must the surface become smoother, easier to clean, or visually brighter? |
Map the Part Before Selecting the Bath
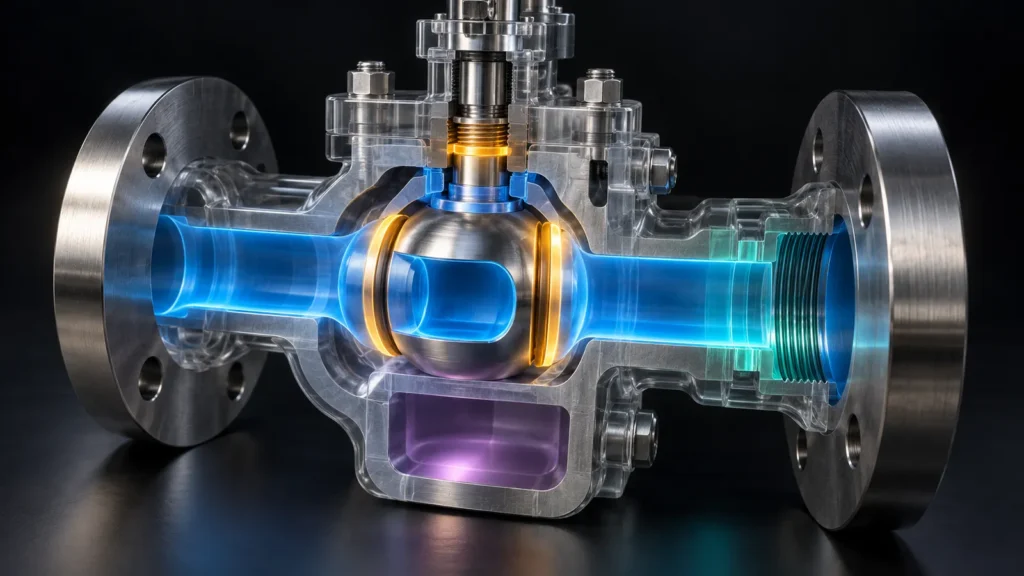
A stainless component is rarely one uniform surface. Mark the drawing by function before choosing the treatment:
- Product-contact surfaces: cleanliness, residue, roughness, pits, and inspection access may dominate.
- Seal lands: flatness, lay, waviness, and edge condition may matter more than brightness.
- Threads and fits: verify whether removal or edge rounding could change assembly behavior.
- Welded or heat-affected areas: discoloration, scale, and cleaning route need separate consideration.
- Cosmetic faces: define visual acceptance instead of assuming a chemical process guarantees a mirror finish.
- Blind holes and internal passages: solution access, drainage, rinsing, and inspection may limit the route.
This map turns a vague request into a process plan. It also prevents overprocessing hidden regions while leaving the truly critical contact surface underdefined.
For assemblies, extend the map across component boundaries. A polished tube welded to a machined flange, for example, may have different starting textures, heat histories, and drainage paths. If the drawing treats the assembly as one uniform surface, local variation can appear as a finishing defect even when each region responds normally to its own history.
Also mark surfaces that will later be bonded, laser marked, lubricated, or placed in electrical contact. A cleaner or smoother surface is not automatically better for every downstream operation; the final assembly sequence may require protected zones or a second preparation step.
Alloy and Starting Condition Set the Ceiling
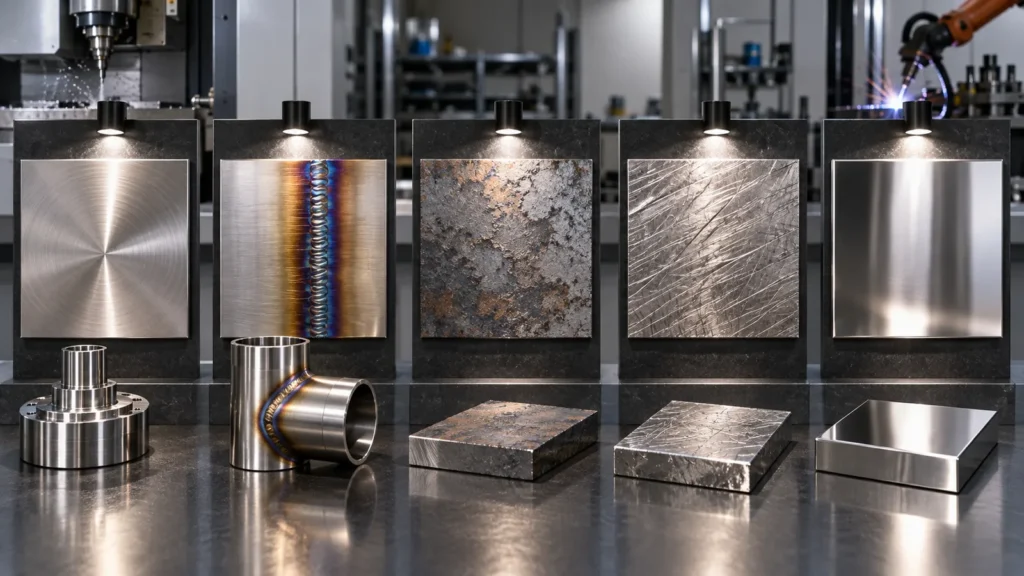
The words “stainless steel” cover alloys with different corrosion behavior, machinability, heat treatment, inclusions, and response to chemical processing. The machining route also matters. Embedded iron from shared tools, heat tint, heavy burrs, deep scratches, scale, oil, polishing compound, or damaged surfaces cannot all be corrected by one final bath.
What passivation will not fix
- Deep machining grooves, dents, or geometric defects
- Inappropriate alloy selection for the service environment
- Heavy oxide scale or weld defects without suitable preparation
- Poor drainage or trapped residues in inaccessible geometry
What electropolishing will not guarantee
- Uniform removal on every edge, recess, bore, and shielded area
- Elimination of deep defects without changing dimensions
- A cosmetic match across mixed alloys or unlike starting finishes
- Correct corrosion performance when the underlying alloy is unsuitable
Machining strategy can improve the starting condition before either treatment. Dedicated clean tooling, controlled coolant, complete deburring, and avoidance of carbon-steel contamination reduce the burden on final cleaning. Stable finishing passes also reduce deep directional marks that electropolishing would otherwise need to chase with more material removal.
Where corrosion is safety- or validation-critical, use coupons or representative features that follow the same material, machining, cleaning, and finishing route. Testing an unrelated flat sample may not expose the effects of blind holes, weld discoloration, crevices, or local roughness on the production part.
Electropolishing Adds a Material-Removal Budget
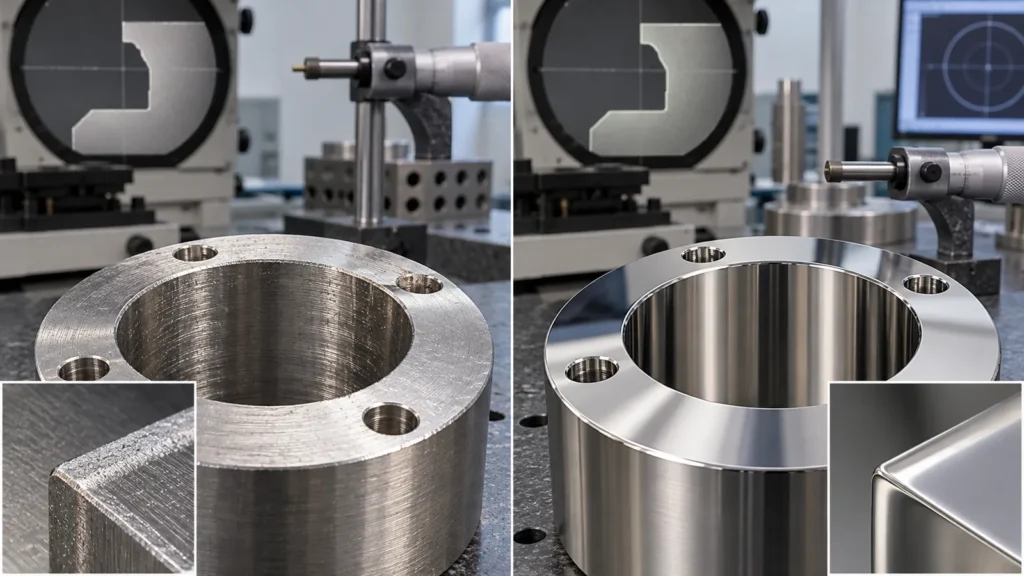
Because electropolishing removes metal, the drawing and process plan must identify features that cannot move freely. Sharp edges can soften, very small details can lose definition, and exposed peaks may remove differently from shielded recesses. The result depends on alloy, starting finish, current distribution, fixturing, chemistry, time, and geometry.
| Feature |
Review before electropolishing |
Possible control |
| Precision bore |
Final diameter, accessibility, and uniformity |
Allowance, masking, or finish-after strategy |
| Thread |
Fit, crest condition, and trapped chemistry |
Mask, verify with mating gauge, and define cleaning |
| Thin edge |
Edge rounding and local removal |
Protect geometry or revise edge requirement |
| Cosmetic panel |
Starting texture, rack location, and visual uniformity |
Approved sample and controlled preparation |
The dedicated electropolishing services page is a useful process reference, but the project drawing must define which dimensions and surfaces control acceptance.
Verify the Result You Actually Purchased
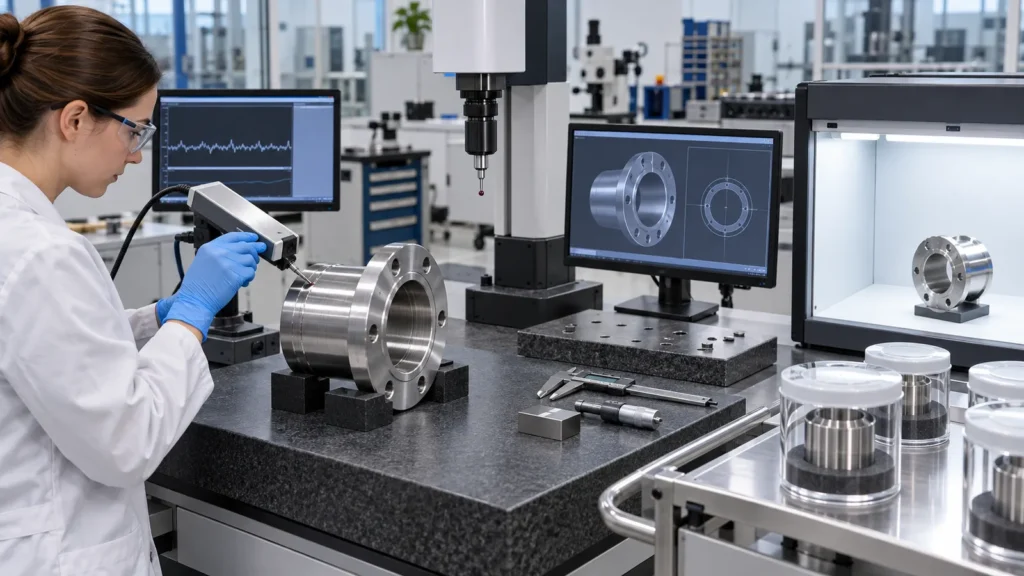
A treatment name is not an inspection plan. Match verification to the purpose:
- For contamination control: define cleaning, handling, process specification, and any required surface test or documentation.
- For corrosion performance: identify the environment, alloy, finish route, relevant test method, sample condition, and acceptance.
- For roughness: state parameter, limit, measurement zone, direction, cutoff, and whether measurement occurs before or after treatment.
- For appearance: use approved samples, visual zones, lighting, viewing distance, and defect limits.
- For dimensions: mark features measured after the complete finish route.
- For cleanliness: define rinse, drying, packaging, and protected handling as part of the requirement.
When records are required, include them in the RFQ rather than adding them after processing. JUCHENG’s quality control page outlines how inspection planning and documentation connect to machined-part delivery.
Sampling deserves the same clarity. A visual check of every part may coexist with periodic roughness measurement, dimensional first-article verification, and lot-based process records. State what is checked per part, per batch, and only at validation. Otherwise, two suppliers can meet the same treatment note with very different levels of evidence.
A Five-Step Selection Path
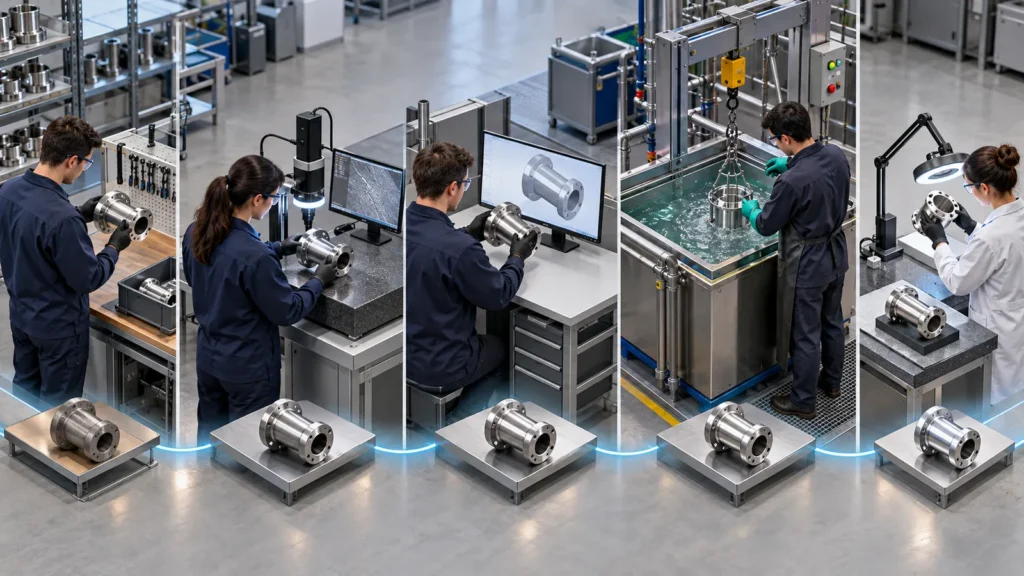
Name the problem: free-iron contamination, corrosion risk, roughness, cleanability, appearance, or several together.
Confirm the alloy and starting surface: include heat treatment, welds, prior polishing, scale, and critical defects.
Map critical geometry: contact surfaces, threads, fits, edges, internal passages, and cosmetic zones.
Choose the minimum effective route: passivation for cleaning and passive-surface support; electropolishing when controlled smoothing and material removal are also required.
Define acceptance: dimensional, roughness, visual, cleanliness, corrosion, and documentation criteria.
If passivation matches the function, see the passivation capability overview and send the applicable specification with the RFQ. If electropolishing is necessary, include a material-removal and measurement plan for critical features.
Common Misunderstandings
Is electropolishing simply stronger passivation?
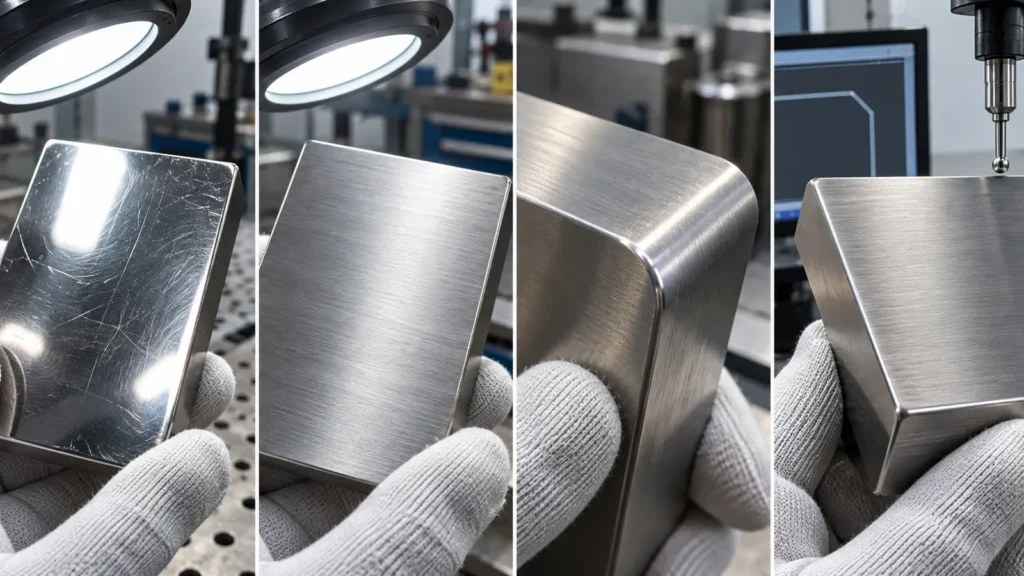
No. Electropolishing is a material-removal process that changes surface topography. Passivation is a chemical treatment focused on cleaning and supporting the stainless passive condition. They may share corrosion-related objectives, but their dimensional and visual effects differ.
Will passivation make a stainless part shiny?
It is not a polishing process. The machined, blasted, brushed, or polished starting texture normally remains visually dominant. If brightness or smoothing is required, specify that outcome separately.
Can electropolishing remove all burrs?
It may reduce microscopic high points and soften very small burr remnants, but it should not replace controlled deburring of significant edges. Large burrs, inaccessible features, and dimensional edges need a dedicated plan.
Do all stainless grades use the same passivation route?
No. Alloy family, heat treatment, surface condition, contamination, specification, and service environment influence process selection. State the exact material and required standard instead of writing only “stainless.”
